
Are you thinking about purchasing a Blackstone Grill with Air Fryer combo or another griddle?
You will find Blackstone has many options for your outdoor cooking needs. We finally got ours and cooking on a seasoned griddle has been such a blast.

I’m jumping ahead here. Let’s chat about: Blackstone, why we purchased one, the unboxing, the building, and what we learned. If you have already done this, congratulations.
Check out our post on How to season a Blackstone Griddle. It will take you step-by-step on how to season a griddle.
Jump to:
What is a Blackstone Griddle?
Think of having your own huge non-stick griddle covering the stovetop. With one of these, you can cook pancakes for the whole family in one flip or have burgers coming off the grill faster than your guest can eat them. The Blackstone brand has been around since 2008. They have different model sizes and types, some models have an air fryer option, like ours. You can definitely find one to fit your lifestyle.
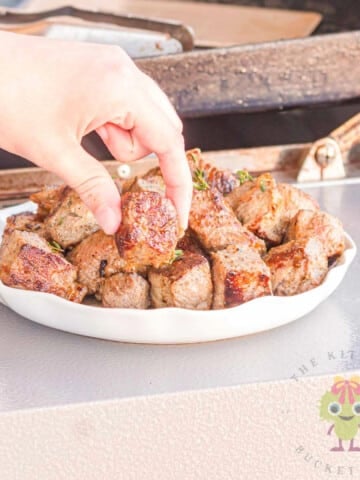
The best is all that heat and grease heads outdoors. You can cook an endless variety of meals from grilled cheese to grilled tortellini with sautéd Smoked Sausage, peppers, and onions. The sky is the limit on what you can do.
What made me buy a Blackstone?
I have to be honest. It was for the ease of cooking and I missed an authentic In-n-Out Burger. The idea of being able to cook everything in one spot and not heat up the kitchen was important for me. And when we grill indoors the grease always seems to go everywhere. The Blackstone was just what I was looking for. Coincidentally, Sean got the Blackstone Grill with Air Fryer for Father’s Day. Win WIN!
The Blackstone heats up really fast and decreases the number of dishes, pots, and pans to clean up at the end of a meal. It keeps my kitchen cleaner and cooler, and the hubby loves to get involved. Heck, it’s outside and he is the outside cook.
Unboxing your Blackstone Grill
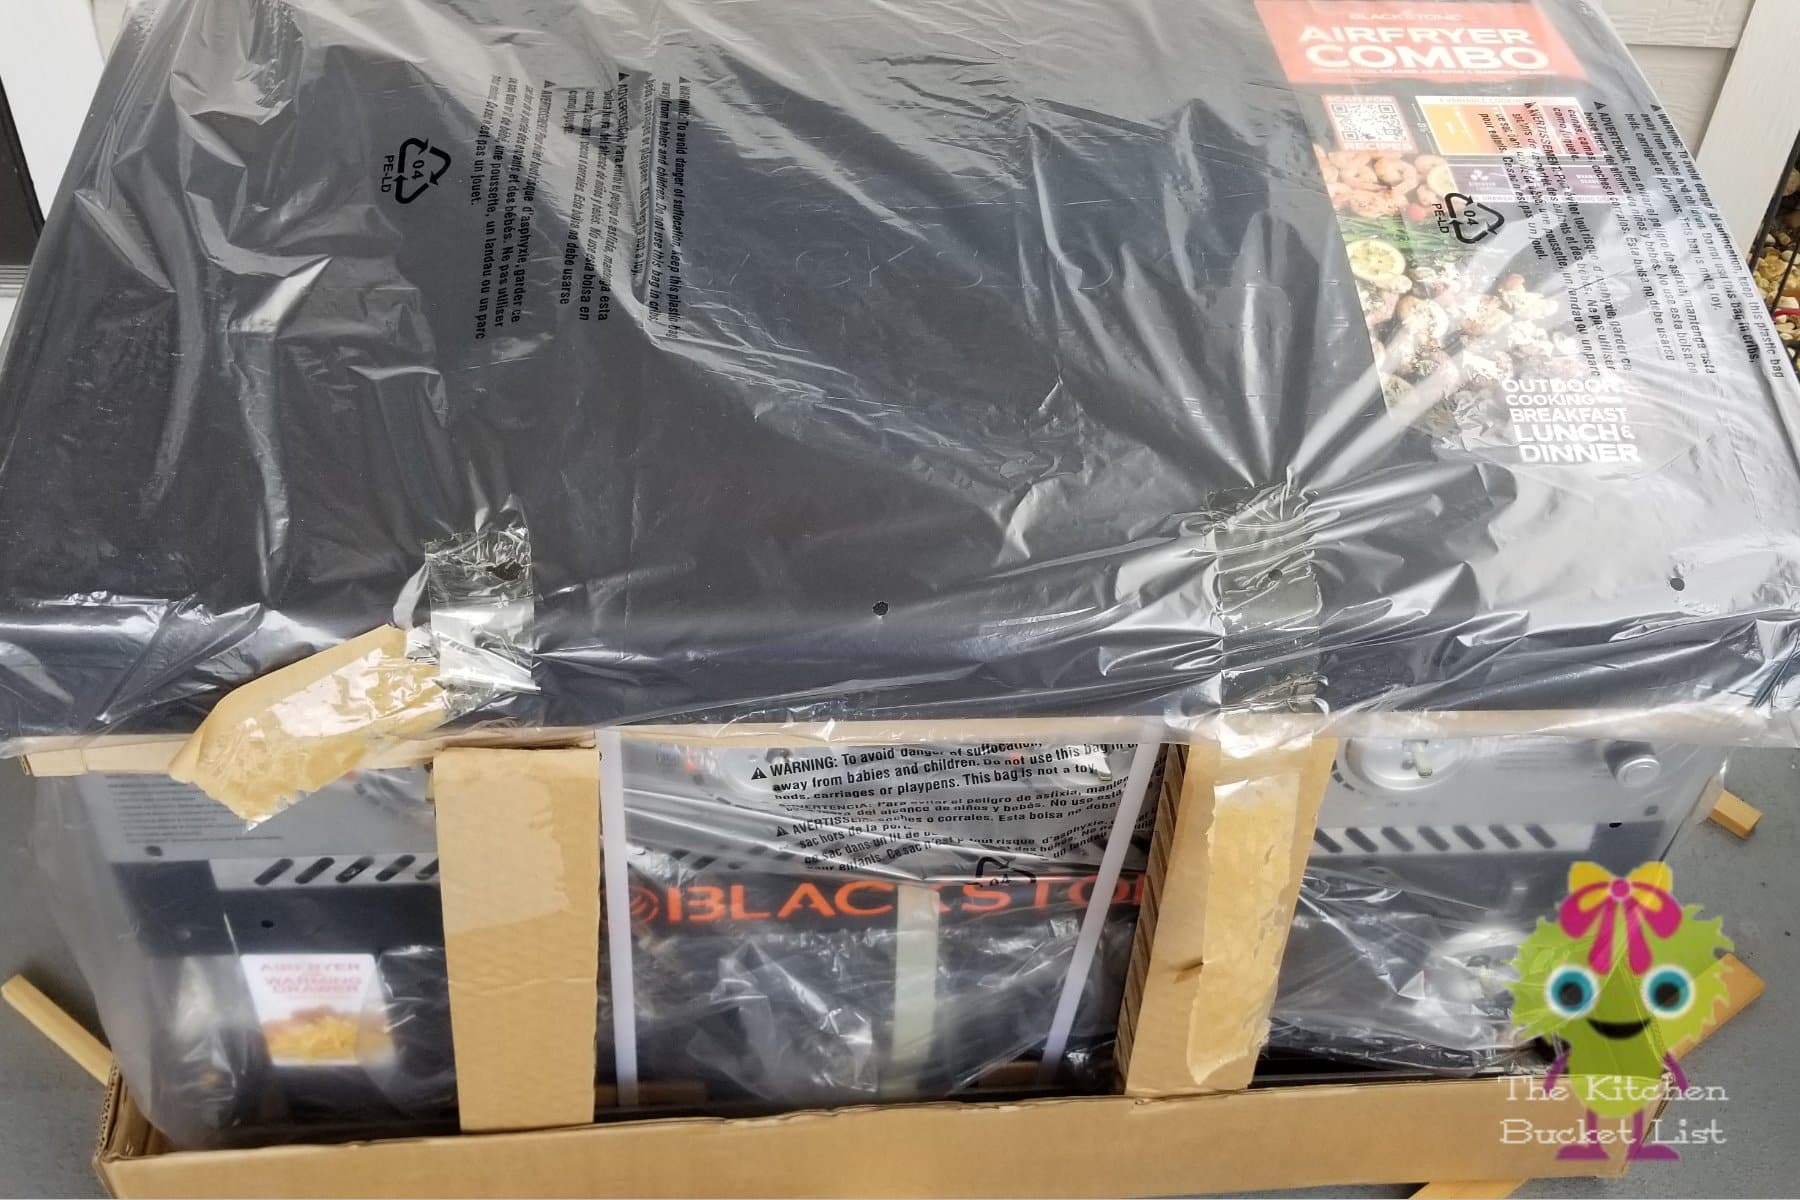
This was a big old box and it did take Sean and I to get it out of the truck. He has one of those Gorilla Carts, which was perfect to wheel the boxed Blackstone Grill with Air Fryer around to the back porch. We already had an area selected. So there was plenty of room to build and separate all the packing material. Once we started the unboxing, Sean was impressed by how well-packed it was. He even commented, “I could have air-dropped this with a parachute”. Having two people do this makes it much more enjoyable. Especially if he is doing all the work with me keeping him on track with the instructions and our beverages cold, Florida in the summertime 😉.
Building the Blackstone 36 Griddle

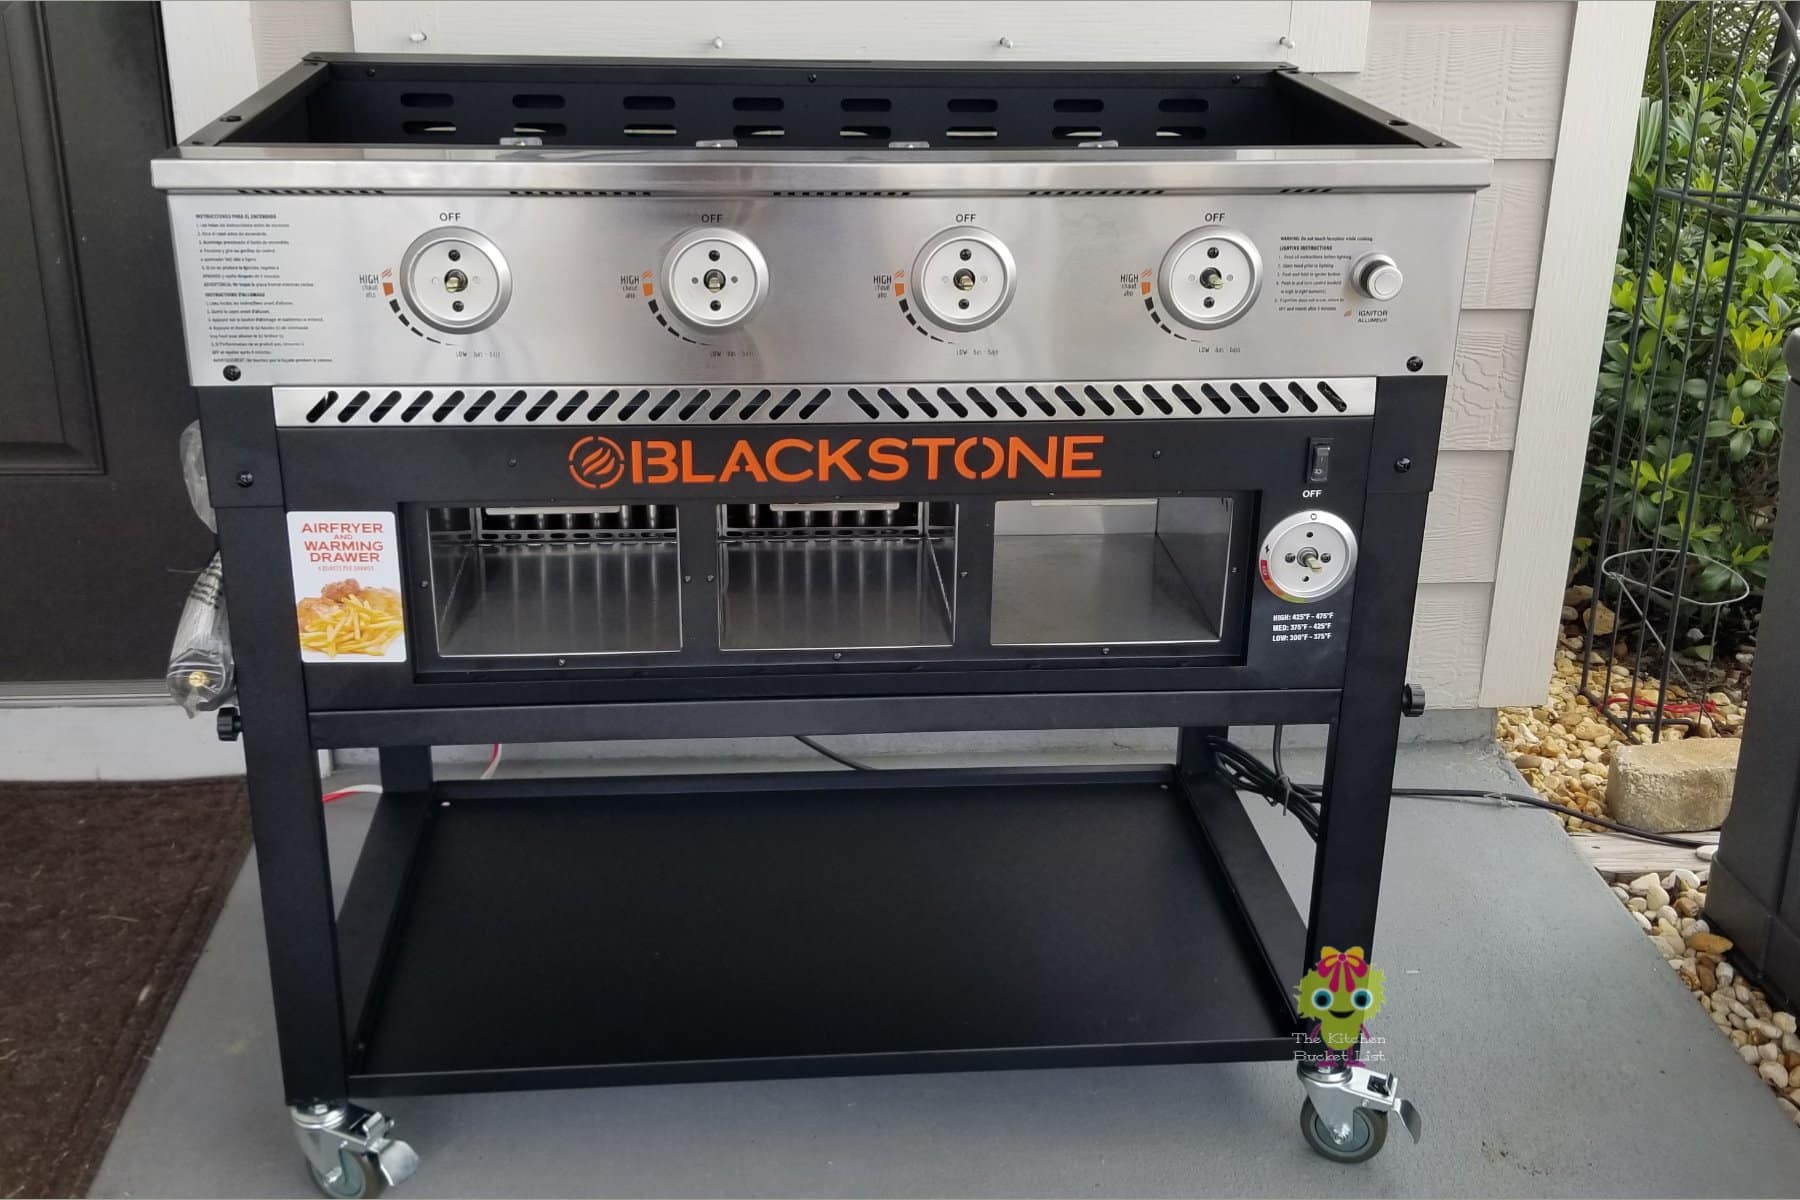
Just go step by step and don’t be in a rush. This is a big grill with a heavy steel griddle top, rolling stand, and air fryers that need to be assembled. The instruction booklet was easy to follow. You should have something to set the griddle on and the small parts. We have one of those large porch boxes and it worked perfectly for this. There are a few areas to pay attention to, like putting the cover on. See our video for more specifics. Honestly, the whole process was just like building with Legos, uncomplicated with each step leading to the next. Here is the link to Blackstone’s Manuals, just in case you need it.
5 things we learned while building our Blackstone Griddle
- Make sure you have room to work and build. The box is pretty big on its own, especially since we bought a Blackstone 36 Griddle. Having an area to place and organize the parts makes the steps flow better.
- Having another person to build with allows one to focus on building and the other to get ready for the next step. Also, some of the pieces are big and cumbersome, and an extra pair of hands and eyes is always helpful.
- It was packed really well, so have an area to put all of the packing material, if you are limited on space.
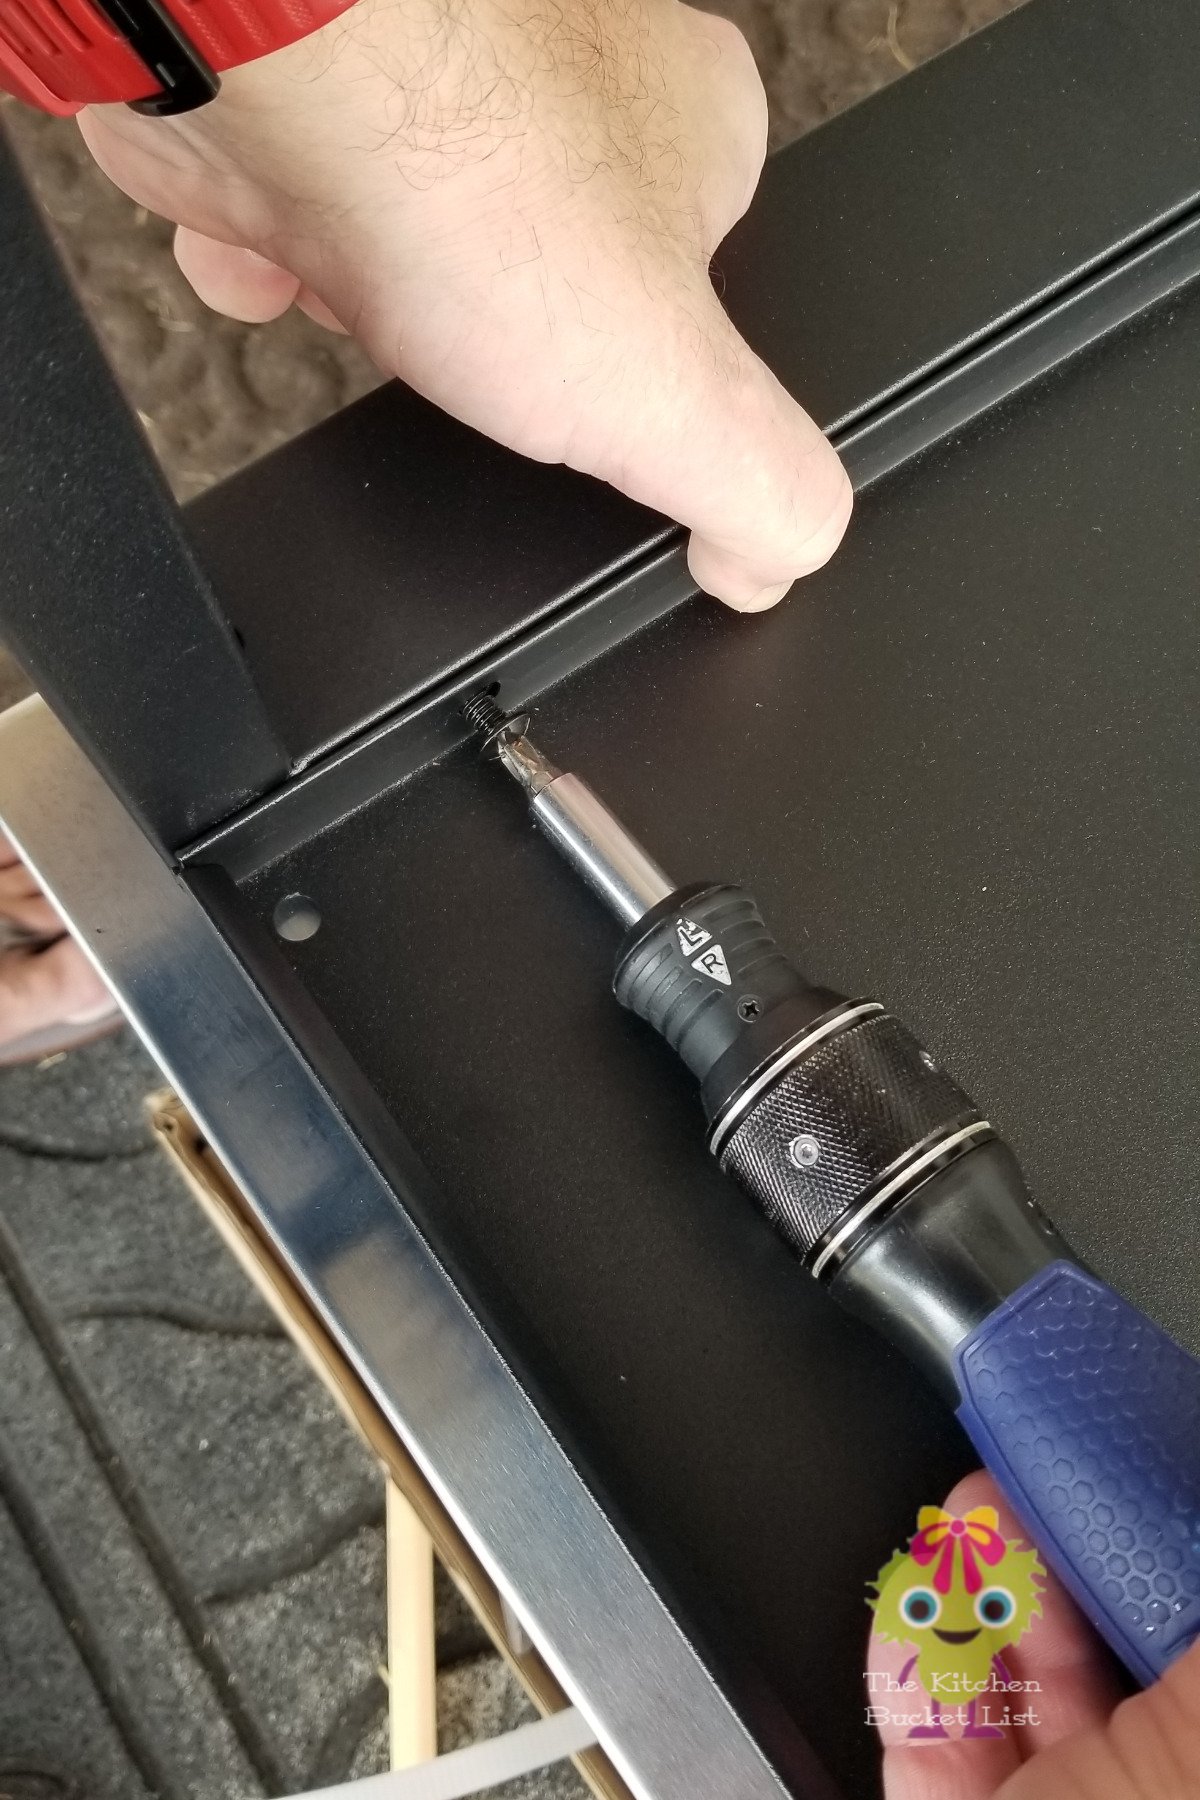
- A big Phillips-head screwdriver, an adjustable wrench, and a knife (for unpacking) are all you will need. Ok, and a bit of patience too.
- There are sharp edges, especially, on the air fryer drawers. The machined areas where the thumb screws go into the air fryer face, “Drawer Front panel (9.3)”, are a bit sharp (Step 12 in Blackstone 36 Griddle, AIRFYER COMBO Model 1868). When you get to “Step 12” be careful, this is where Sean cut his finger. He is planning on filing those areas down in the near future.
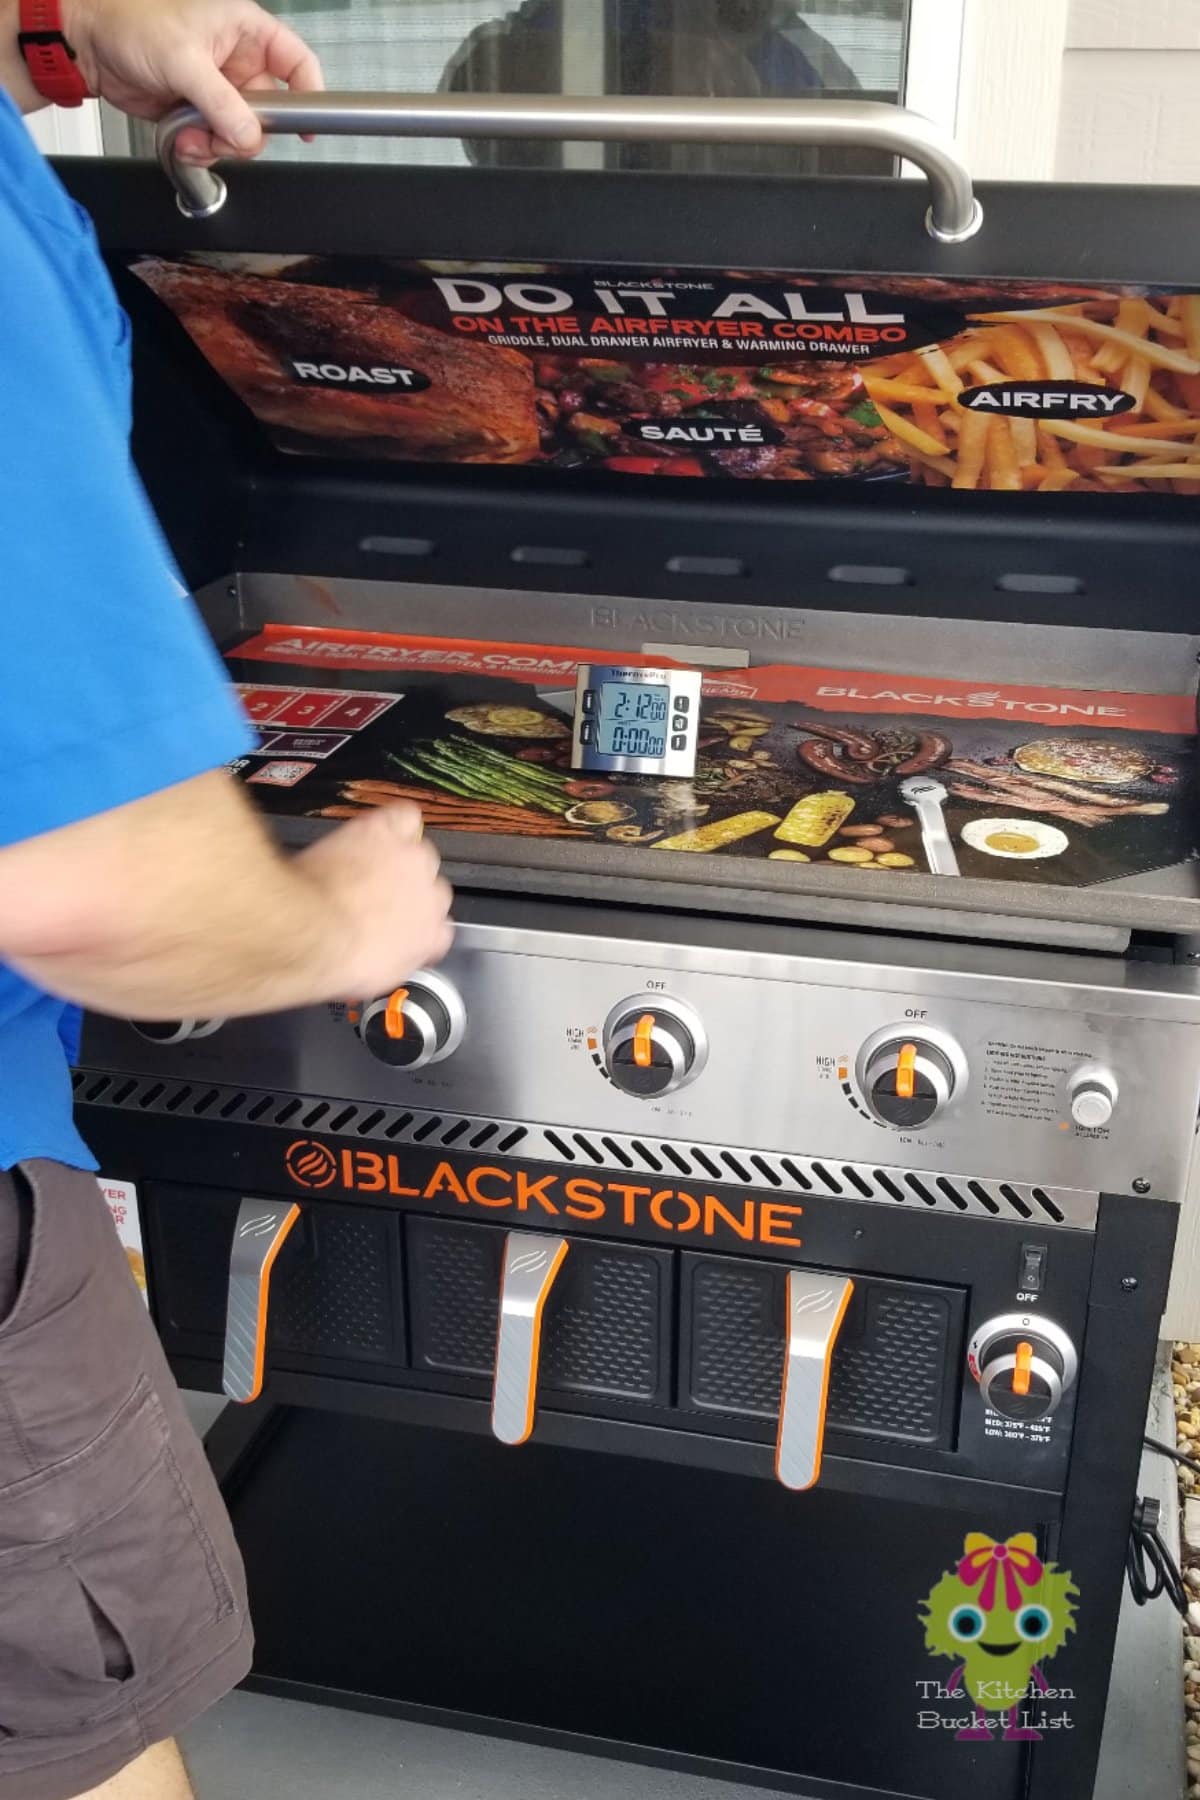
Takeaways from the build
Between the both of us, it took us approximately 2 hrs to build, ok it was 2:12 precisely. We were not rushing. We were both very impressed with the packing. Everything was covered with plastic and held in place with cardboard. Nothing was moving inside that box while shipping. The manual is thick, don’t worry, it’s in multiple languages. We both looked through it before assembly. The manual is straightforward and has a logical flow once you start to build. We hope this helped you make a good decision on which Blackstone to purchase and build. Have you already built yours and want to know how to season it?
Check out our post on seasoning, How to season a Blackstone Griddle.
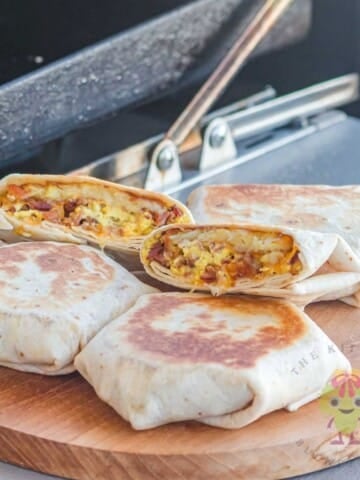
P.S. The grease has not been a problem outside on the porch, either👍. We have done a bunch of bacon cooks, hamburgers, and other grilling and sautéing over the summer without the porch getting greasy. Sean had planned to add washing the porch down to his weekly yard chores, but no need yet…
So which griddle did you buy? What is going to be your first cook?
Tell us below.


Comments
No Comments